
Rugby Ball Grip and Graphics - How Do They Get There?
, 3 min reading time

, 3 min reading time
 The rubber sheet is smooth at this point and is ready to have the grip applied
  To ensure the graphics are part of the ball, the ink is produced using the same type of rubber and when heated this becomes part of the outer layer and not a separate layer sat on top of the ball. The rubber sheet now needs to have the grip applied and the graphics heated up to become one.
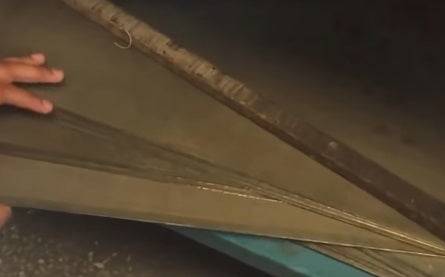
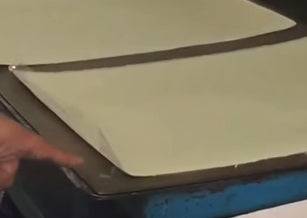
 The grip configuration is already manufactured within the metal plates. Each can have a grip unique to a manufacturer, although most tend to use the standard grip configuration as it is the most reliable. The rubber sheet is placed on top of this plate and then inserted into the oven press. As the press heats up the plate moulds into the rubber surface and creates the grip we see in the final stage of production. A 2 ply ball needs baking for 5 minutes, a 3 ply needs 6 minutes and a 4 ply match quality rugby ball is baked for 7 minutes.
  The ink has now penetrated the rubber and the grip has formed so the cellophane sheet that used to hold the graphics is removed.
  That is how the grip and graphics are manufactured onto the rubber sheet in all cases so, the difference in the quality of the ball is often in the eye of the beholder. We can supply Custom printed Gilbert and Lusum balls as they are produced in the same way so, your graphics become part of the ball and will not fall off. If you wanted the graphics added after the ball is gripped and stitched, there will probably be a lot of air pockets and this will then make it more likely the graphics will fall away from the rubber. If you are looking for customised rugby balls or rugby balls from stock check our our Rugby Balls section. We have also produced a video showing the process described above on our Sportsballshop You tube Channel


